8. Deployment of BrainKB Services#
BrainKB consists of multiple service components, as highlighted in the Architecture of BrainKB. All of the service components can be deployed independently. However, there are a few dependencies, such as setting up the PostgreSQL database that is used by JWT Users and Scope Manager, that need to be setup first.
Note
The installation of Docker is necessary due to its use in deployment.
8.1. Dependencies#
The following are the core dependencies: software and service components that need to be installed in the order specified below.
8.1.1. JWT User & Scope Manager#
The JWT User & Scope Manager helps to simplify the management of permissions and users for API endpoint access. It needs to be setup as a first step in order to use JWT based authentication.
Installation:
Navigate to
APItokenmanagerdirectory.Install PostgreSQL databse by running the Docker Compose file present inside docker-postgresql folder.
Important: You need to create an
.envfile to hold the following information.POSTGRES_USER: PostgreSQL database user name.
POSTGRES_PASSWORD: Password for PostgreSQL database user.
POSTGRES_DB: Database name.
PGADMIN_DEFAULT_EMAIL: Email address for pgAdmin.
PGADMIN_DEFAULT_PASSWORD: Password for pgAdmin user.
Additionally, set the following environment variables in
.envfiles for Django that are required to create Django superuser (see JWT User & Scope Manager Sample Environment File).DJANGO_SUPERUSER_USERNAME: Username that you will use to login to JWT User & Scope Manager.
DJANGO_SUPERUSER_EMAIL: Email address of the user.
DJANGO_SUPERUSER_PASSWORD: Password of the Django superuser.
Assign the environment variables specified below and deploy the application by executing the Docker Compose file, selecting either development (
docker-compose-dev.yml) or production (docker-compose-prod.yml) depending on your environemnt (see JWT User & Scope Manager Sample Environment File).DB_NAME: Name of the database.
DB_USER: User name.
DB_PASSWORD: Password.
DB_HOST: Database connection URL, default is localhost.
DB_PORT: Database port number, default is 5432.
Upon successful deployment, you should following home screen as shown in Fig. 8.1 and manage users and permissions (see Fig. 8.2).
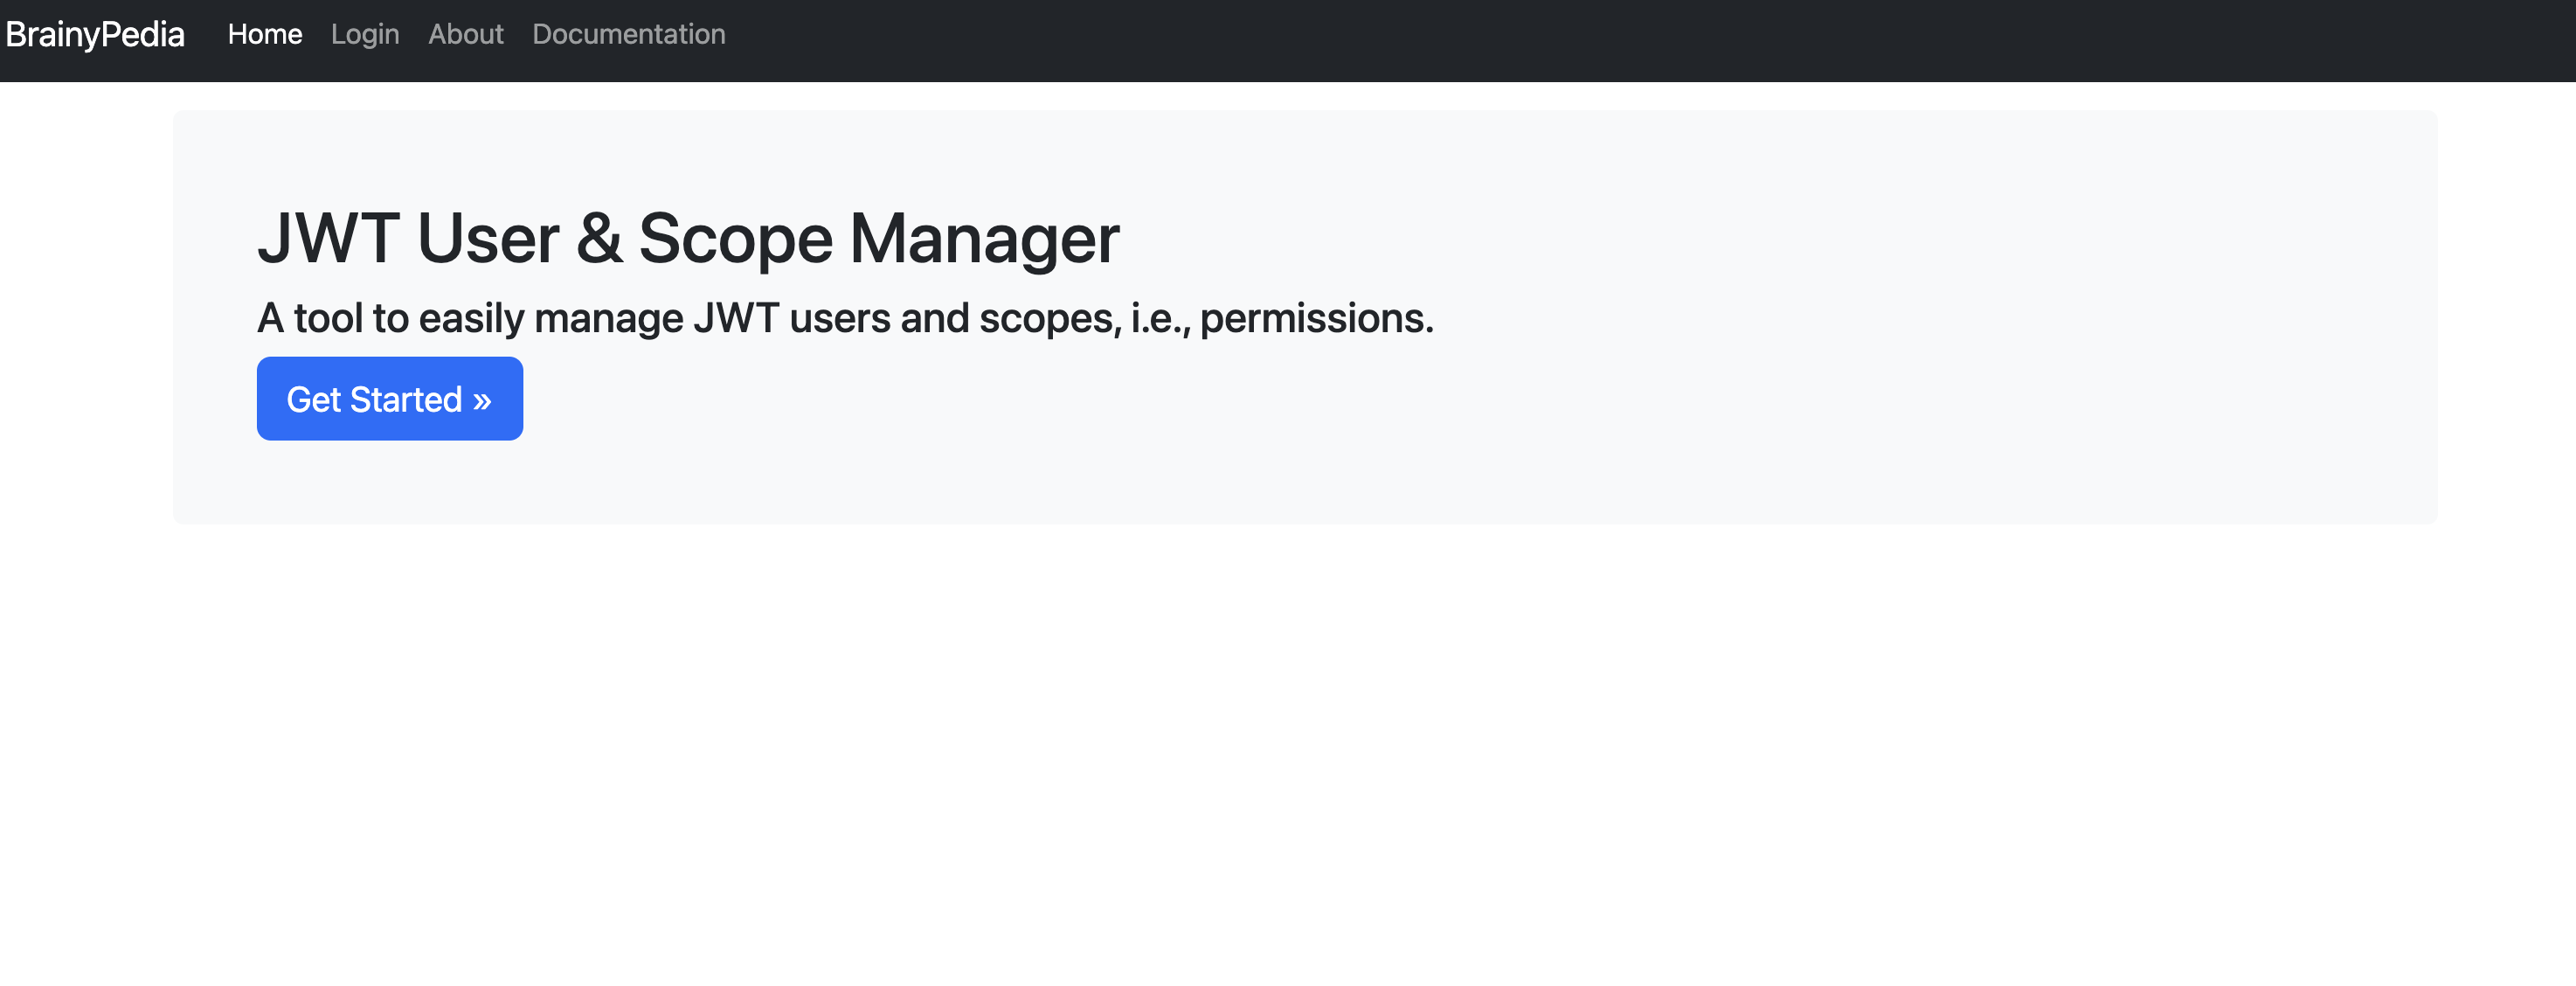
Fig. 8.1 JWT User & Scope Manager landing page.#
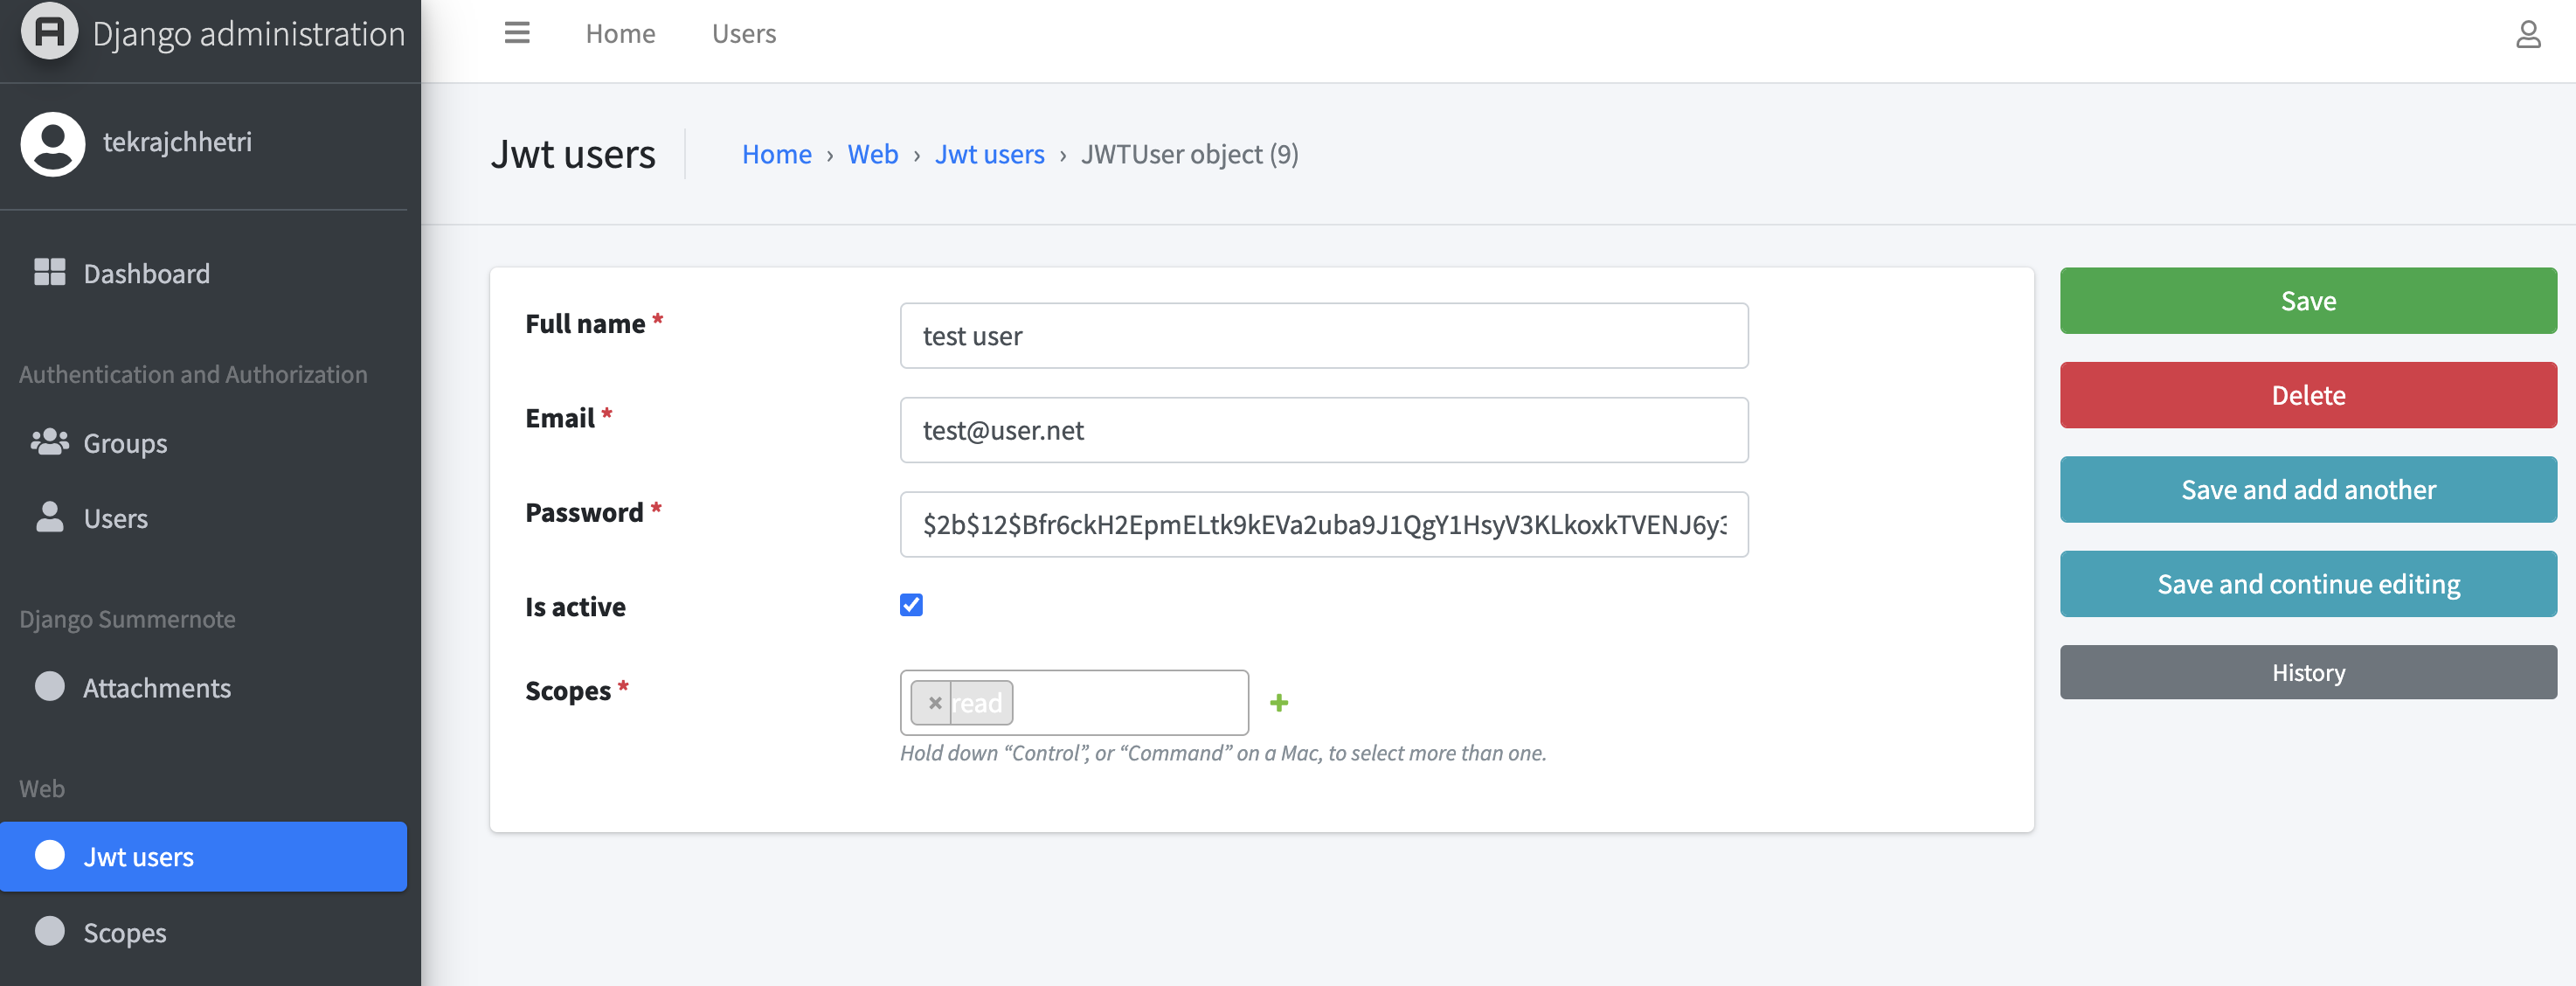
Fig. 8.2 JWT User & Scope Manager - Updating user information.#
8.1.2. RabbitMQ#
RabbitMQ is an open-source messaging broker software that is used in the ingestion process. Other microservices, i.e., workers, then consume the data that RabbitMQ holds in the messaging queue.
Installation:
Navigate to
rabbit-mqdirectory.Run the
docker-compose.yml, issuingdocker compose upcommand.Important: You need to create an
.envfile and provide the following information.RABBITMQ_DEFAULT_USER: Username for the RabbitMQ that will be use to login.
RABBITMQ_DEFAULT_PASS: Password for the RabbitMQ.
After successful deployment, you should be able to see the screen shown in Fig. 8.3. Use the username and password specified earlier to login.
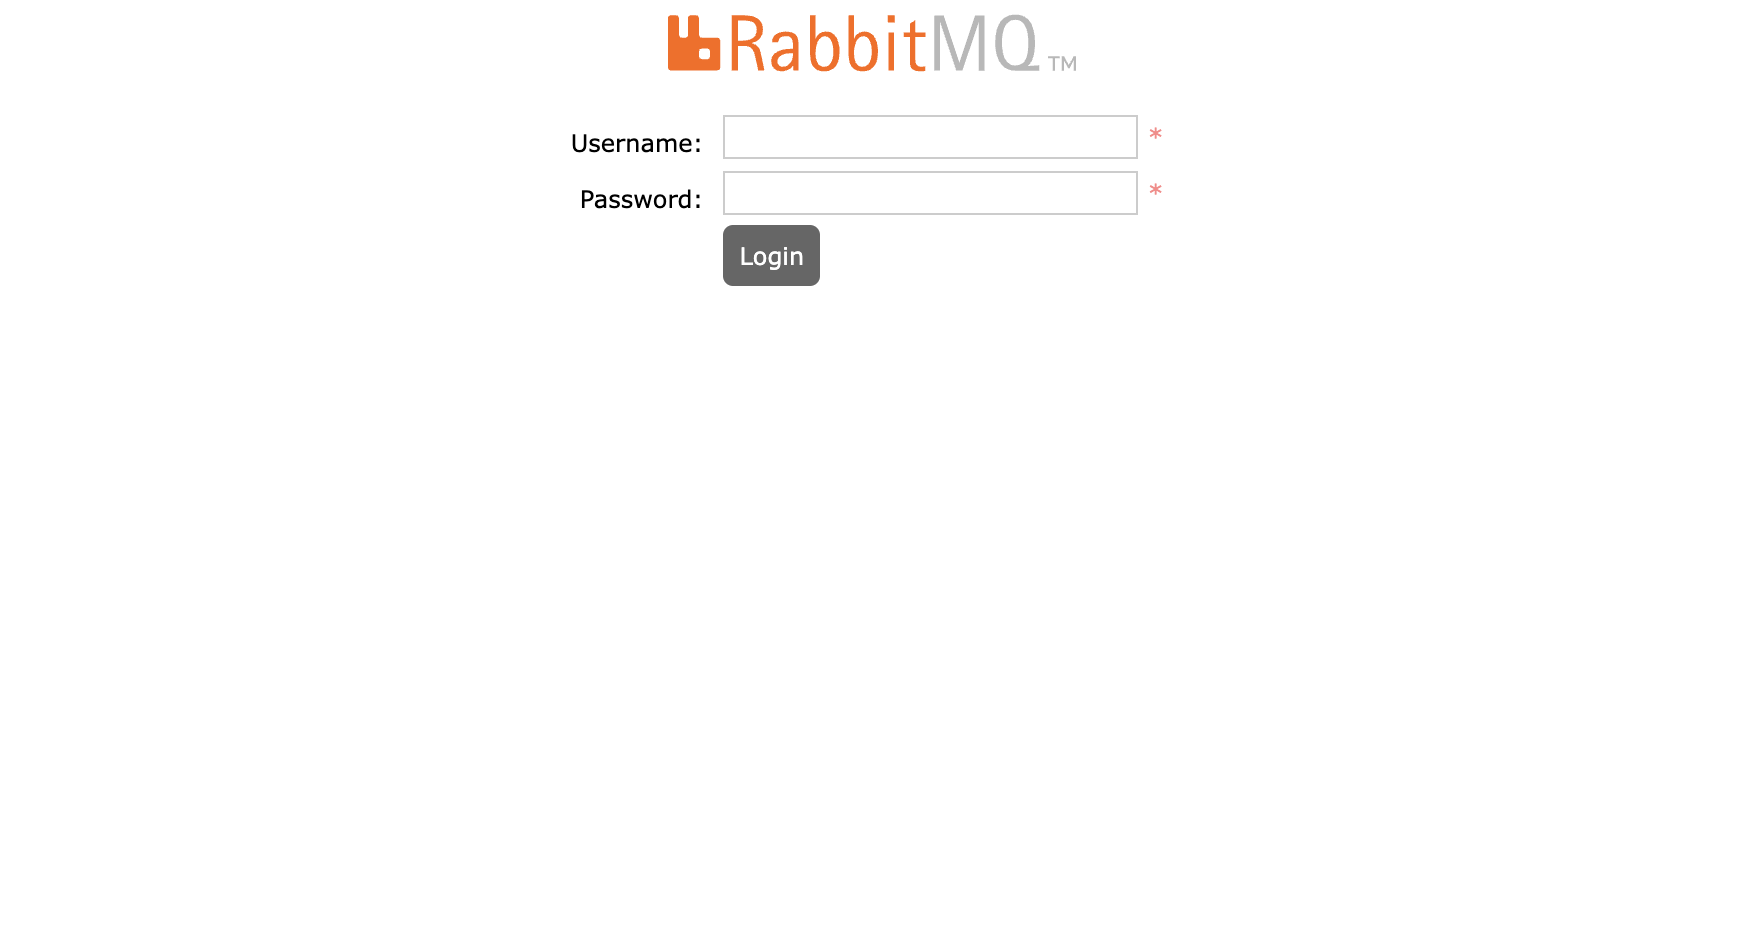
Fig. 8.3 RabbitMQ after successful deployment.#
8.1.3. GraphDB#
We use GraphDB to store our KGs.
Installation:
Navigate to
graphdbdirectory.Run the
docker-compose.yml, issuingdocker compose upcommand. After successful deployment, you should be able to see the following screen (see Fig. 8.4).
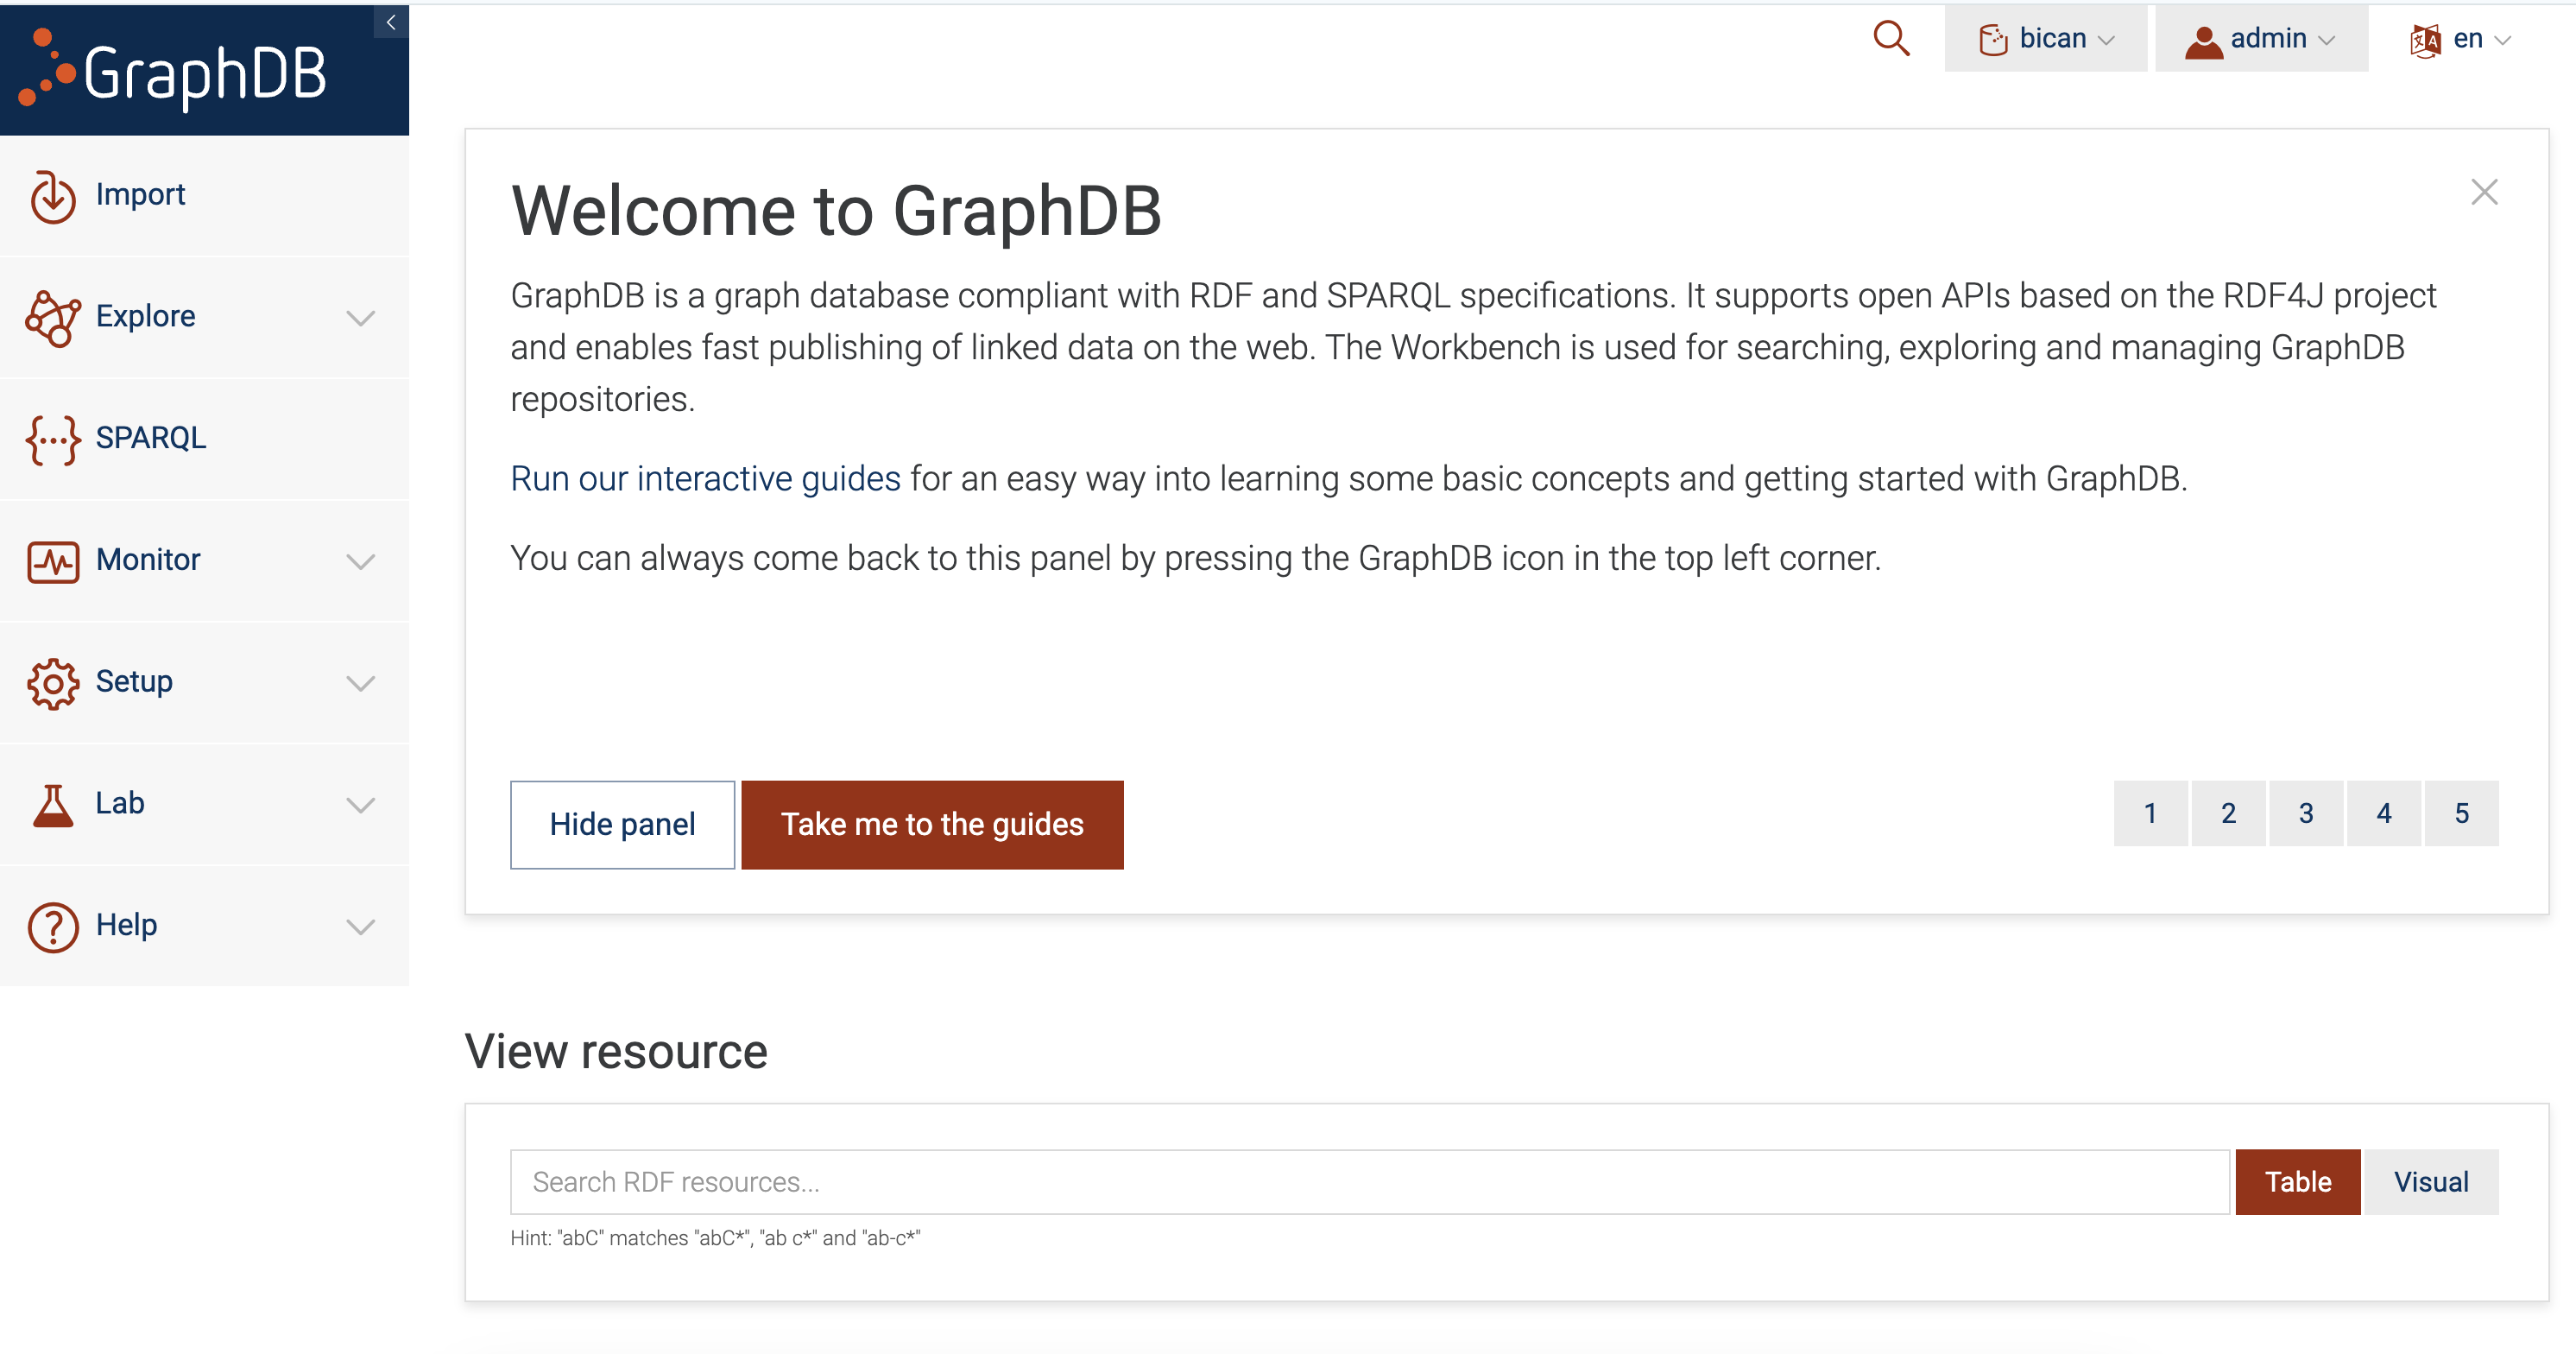
Fig. 8.4 GraphDB Screen.#
Access to the GraphDB is available to all users by default. To enable password based access, navigate to setup
→users and access and enable security (see Fig. 8.5).
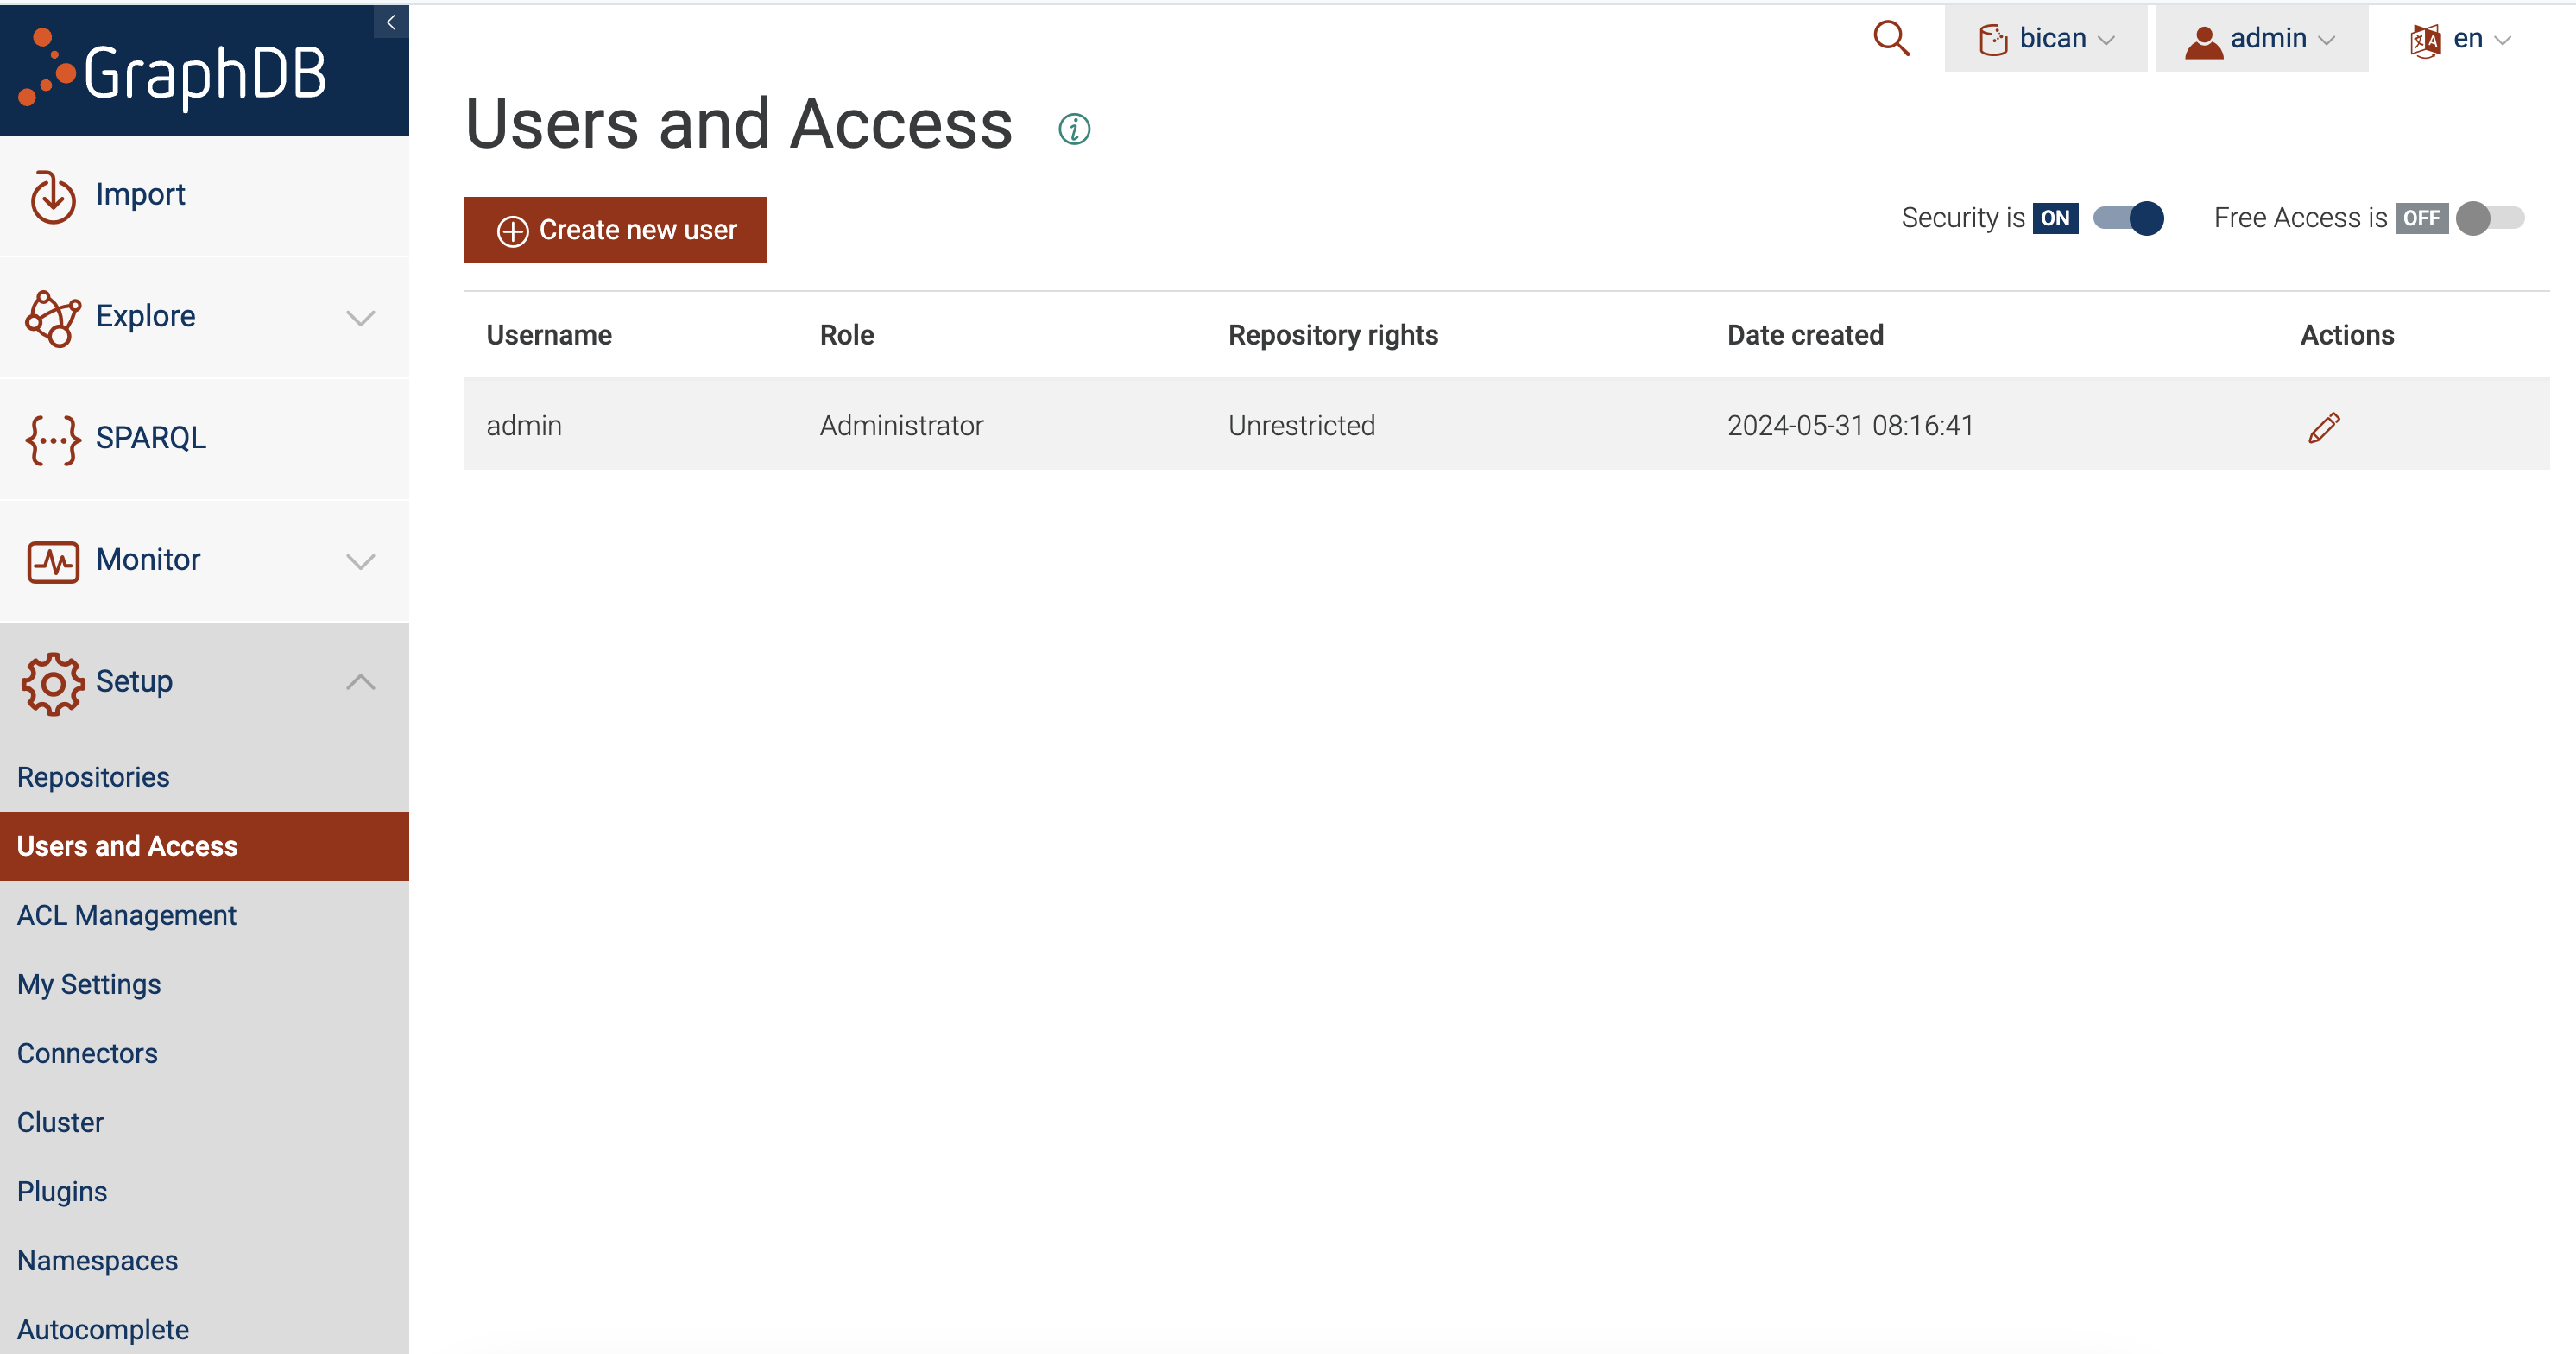
Fig. 8.5 Enabling Access Control.#
8.1.4. Common configuration details#
The following are the common configuration parameters used in most of the microservices.
ENV_STATE: The state, either, environment and production. Use
prodfor production.DATABASE_URL: Use
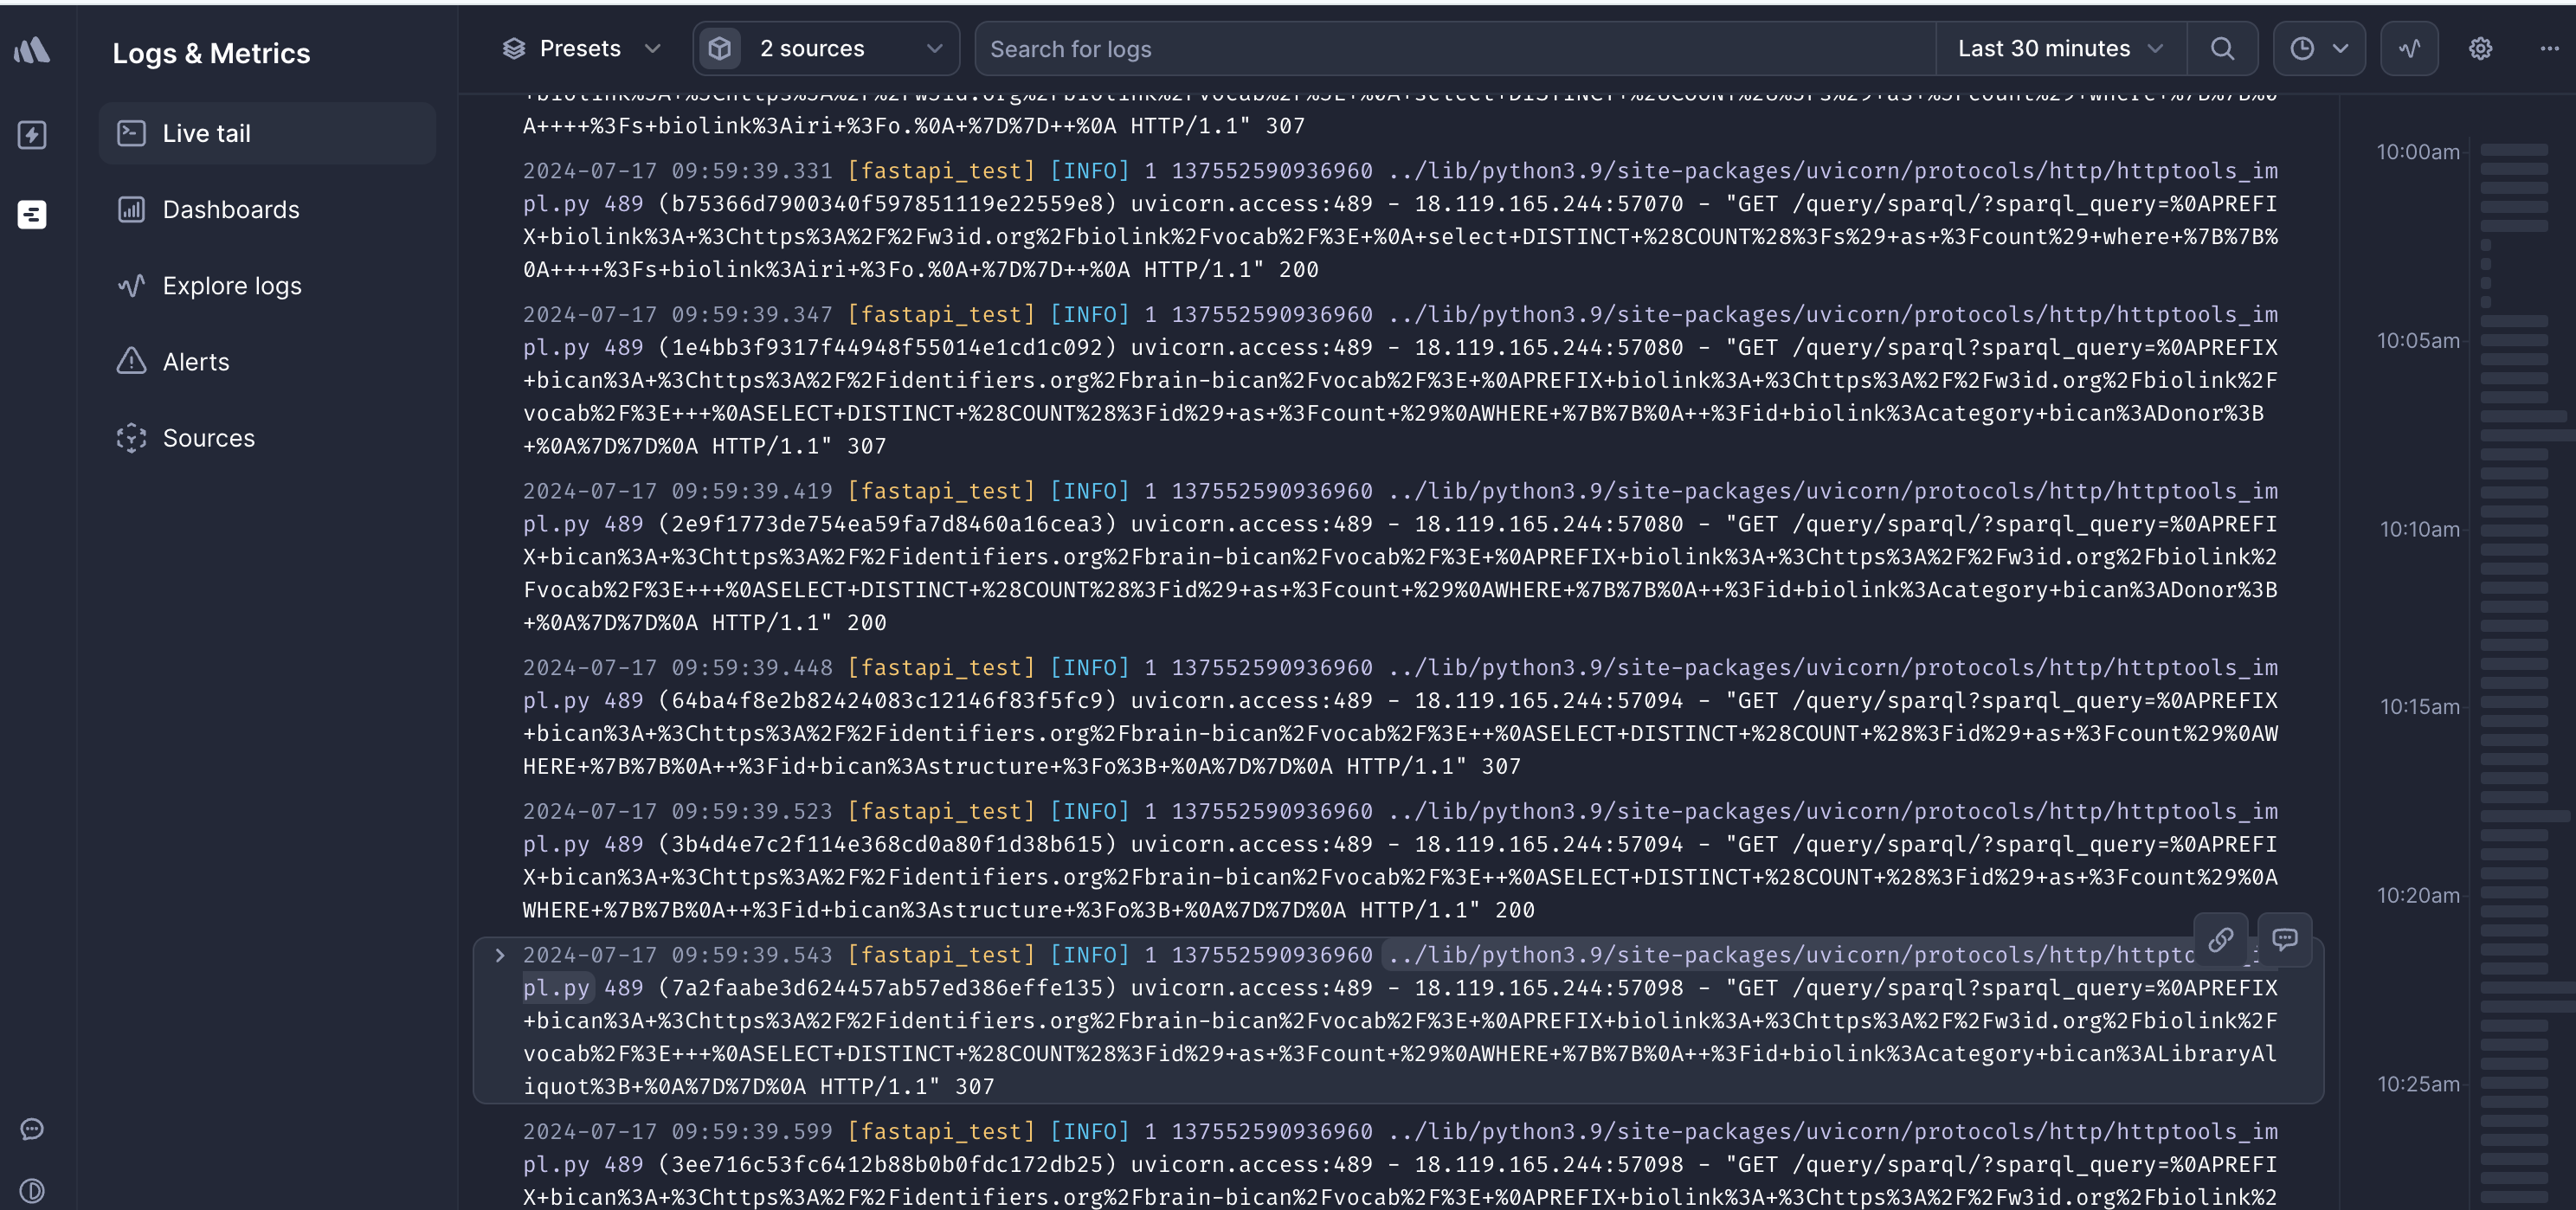
sqlite:///data.db.LOGTAIL_API_KEY: Log Tail API key. Fig. 8.6 shows the logging of the information.
JWT_POSTGRES_DATABASE_HOST_URL: PostgreSQL database (
the same database from JWT User & Scope Manager) URL.JWT_POSTGRES_DATABASE_NAME: Database name.
JWT_POSTGRES_DATABASE_PORT: Port number of the PostgreSQL database.
JWT_POSTGRES_DATABASE_USER: Username for the PostgreSQL database.
JWT_POSTGRES_DATABASE_PASSWORD: Password for PostgreSQL database user.
JWT_POSTGRES_TABLE_USER: Name of the table to store the user information. The default is
Web_jwtuser.JWT_POSTGRES_TABLE_SCOPE: Name of the table to store the scope (or permission) information. The default is
Web_scope.JWT_POSTGRES_TABLE_USER_SCOPE_REL: Name of the table to store the relationship information between scope (or permissions) and user. The default is
Web_jwtuser_scopes.JWT_ALGORITHM: Algorithm to be used in JWT. The default is
HS256.JWT_SECRET_KEY: Secret key to be used in JWT.
8.1.5. Query Service#
The query service provides the endpoints and the functionalities necessary for querying (and updating) the knowledge graphs from the graph database.
Navigate to
query_servicedirectory.Run either
docker-compose-dev.ymlordocker-compose-prod.ymldepending on your environment, issuingdocker compose upcommand.Important: You need to create an environment file (e.g.,
.env.development) and update it with the following information.Update the common configuration details (or see Query Service Sample Environment File).
GRAPHDATABASE_USERNAME: Username for the graph database, i.e.,
GraphDBin our case.GRAPHDATABASE_PASSWORD: GraphDB password.
GRAPHDATABASE_HOSTNAME: Hostname for the graph database. Default is
http://localhost.GRAPHDATABASE_PORT: Graph database port number. Default is
7200.GRAPHDATABASE_TYPE: Graph database type. Default is
GRAPHDB, representingGraphDB.GRAPHDATABASE_REPOSITORY: The name of the repository (same as table in relational database). This may not be use in all graphdatabase but for GraphDB, which we use, it is a must.
8.1.6. Ingestion Service#
Ingestion service implements the functionalities to interact with the messaging broker, i.e., RabbitMQ in our case to publish the incoming request/data.
Navigate to
ingestion_servicedirectory. You need to deploy the producer and consumer separately and has been organized accordingly in theproducerandconsumerinsideingestion_servicedirectory.Run either
docker-compose-dev.ymlordocker-compose-prod.ymldepending on your environment, issuingdocker compose upcommand.Important: You need to create an environment file and update it with the following information.
Update the common configuration details (see Ingest Service Sample Environment File for Producer and Ingest Service Sample Environment File for Worker).
RABBITMQ_USERNAME: Username for RabbitMQ connection.
RABBITMQ_PASSWORD: Password for RabbitMQ connection.
RABBITMQ_URL: URL to connect to the RabbitMQ.
RABBITMQ_PORT: Port number for RabbitMQ. Default is
5672.RABBITMQ_VHOST: Vhosts for RabbitMQ. Default is
/.For the worker, you would also need to update additional environment variable INGEST_URL.
8.1.7. Environment Files#
8.1.7.1. JWT User & Scope Manager Sample Environment File#
BRAINYPEDIA_APITOKEN_MANAGER_SECRET_KEY=<DJANGO SECRET KEY>
DB_NAME=<DATABASE NAME>
DB_USER=<DATABASE USER NAME>
DB_PASSWORD=<DATABASE PASSWORD>
DB_PORT=<DATABASE PORT>
DB_HOST=<DATABASE HOST>
DJANGO_SUPERUSER_USERNAME=<DJANGO SUPERUSER NAME>
DJANGO_SUPERUSER_EMAIL=<DJANGO SUPERUSER EMAIL>
DJANGO_SUPERUSER_PASSWORD=<DJANGO SUPERUSER PASSWORD>
8.1.7.2. Microservices#
Sample environment files for different service components are shown below. The environment files should be present inside core directory.
8.1.7.2.1. Query Service Sample Environment File#
ENV_STATE=prod
DATABASE_URL=sqlite:///data.db
DB_FORCE_ROLL_BACK=False
LOGTAIL_API_KEY=<YOUR API KEY>
JWT_POSTGRES_DATABASE_PORT=<PORT NUMBER>
JWT_POSTGRES_DATABASE_USER=<USER NAME>
JWT_POSTGRES_DATABASE_PASSWORD=<PASSWORD>
JWT_POSTGRES_DATABASE_NAME=<POSTGRES JWT DATABASE NAME>
JWT_POSTGRES_TABLE_USER_SCOPE_REL=<POSTGRES JWT SCOPE USER RELATION TABLE NAME>
JWT_POSTGRES_TABLE=<POSTGRES TABLE NAME>
JWT_POSTGRES_DATABASE_HOST_URL=<HOST URL>
JWT_POSTGRES_TABLE_USER=<POSTGRES JWT USER TABLE NAME>
JWT_POSTGRES_TABLE_SCOPE=<POSTGRES JWT SCOPE TABLE NAME>
JWT_ALGORITHM=<JWT ALGORITHM>
JWT_SECRET_KEY=<JWT SECRET KEY>
GRAPHDATABASE_USERNAME=<GRAPHDATABASE USERNAME>
GRAPHDATABASE_PASSWORD=<GRAPHDATABASE PASSWORD>
GRAPHDATABASE_REPOSITORY=<GRAPHDATABASE REPOSITORY NAME>
GRAPHDATABASE_HOSTNAME=<GRAPHDATABASE HOSTNAME>
8.1.7.2.2. Ingest Service Sample Environment File for Producer#
ENV_STATE=prod
DATABASE_URL=sqlite:///test.db
JWT_POSTGRES_DATABASE_HOST_URL=<HOST URL>
JWT_POSTGRES_DATABASE_PORT=<PORT NUMBER>
JWT_POSTGRES_DATABASE_USER=<USER NAME>
JWT_POSTGRES_DATABASE_PASSWORD=<PASSWORD>
JWT_POSTGRES_DATABASE_NAME=<POSTGRES JWT DATABASE NAME>
JWT_SECRET_KEY=<JWT SECRET KEY>
JWT_POSTGRES_TABLE_SCOPE=<POSTGRES JWT SCOPE TABLE NAME>
RABBITMQ_USERNAME=<RABBITMQ USER NAME>
RABBITMQ_PASSWORD=<RABBITMQ PASSWORD>
RABBITMQ_URL=<RABBITMQ HOST URL>
8.1.7.2.3. Ingest Service Sample Environment File for Worker#
ENV_STATE=prod
DATABASE_URL=sqlite:///test.db
JWT_POSTGRES_DATABASE_HOST_URL=<HOST URL>
JWT_POSTGRES_DATABASE_PORT=<PORT NUMBER>
JWT_POSTGRES_DATABASE_USER=<USER NAME>
JWT_POSTGRES_DATABASE_PASSWORD=<PASSWORD>
JWT_POSTGRES_DATABASE_NAME=<POSTGRES JWT DATABASE NAME>
JWT_SECRET_KEY=<JWT SECRET KEY>
JWT_POSTGRES_TABLE_SCOPE=<POSTGRES JWT SCOPE TABLE NAME>
RABBITMQ_USERNAME=<RABBITMQ USER NAME>
RABBITMQ_PASSWORD=<RABBITMQ PASSWORD>
RABBITMQ_URL=<RABBITMQ HOST URL>
INGEST_URL=<INGEST URL>
INGEST_URL = http://host.docker.internal:<PORT> if producer and worker are deployed in the same instance.